The night sky has always been something to marvel at.
Camping outdoors, being one with nature, and staring at the blanket of stars above you—it is almost as if you wish you can capture this moment in time and commit it to your memory forever. Luckily, we can easily take a snap of the night sky anytime we want to. However, when done right and with the proper gear, the scenic star-spangled atmosphere can produce some of the most exquisite and magnificent photos you have taken in your entire life. While not as relatively popular as other hobbies, photography of the night sky can be a gratifying hobby revealing not only the spectacular beauty of nature but the wonders of the universe as well.
Enter astrophotography, a nocturnal hobby that seeks not only to take photos of the stars but all of the astronomical objects, celestial events, and various areas of the night sky.
Astrophotography can be as simple and straightforward as mounting a camera on a tripod and taking multiple shots of the night sky. However, it can also be quite complicated—particularly if you want to make it with liquid-cooled CCD cameras, robotically controlled telescopes, and computer-enhanced images. Astrophotography, albeit an easy hobby to get into, can be quite challenging to master at its highest level. In this regard, patience and determination are required to refine the craft. However, do not let this deter you. You can always ease into the hobby by starting easy and shooting some star-trails with a camera mounted on a tripod. Advance your skills by moving on to piggyback photography and then finally, prime-focus astrophotography. When you are starting out, some of the jargon thrown around by photography articles and experts who have mastered their craft will inevitably confuse you, but this is part of the learning process.
Picking up astrophotography might be a little challenging as you advance, but this is what makes the hobby so rewarding. More importantly, if done right, it can even be Zen-like.

WHAT IS ASTROPHOTOGRAPHY?
As stated above, astrophotography is merely taking a photograph of an object in space. It does not matter whether the photo was taken with a point-and-shoot camera, the Hubble Space Telescope, or any other type of camera, so long as you are taking a picture of an object in space. The subject can include anything from the moon, celestial bodies to even the Milky Way. The first forays into photography as well as modern cameras all involve the capturing of light reflected off of objects. However, astrophotography’s case has light coming from the cosmos, which is what makes it different from ordinary photography ventures.
TYPES OF ASTROPHOTOGRAPHY
Astrophotography might mean the photography of any objects in the sky, but like any other branch in photography, there are several types of astrophotography you can pursue. This article has covered them all.
DEEP SPACE/SKY

Deep space or sky photos are photographs that are taken with a telescope. These objects are far away into the night sky. These photographs can include everything from the intriguing nebulae and distant galaxies. However, deep space or sky astrophotography is one of the most technical and complicated aspects of the hobby.
WIDE ANGLE ASTROPHOTOGRAPHY
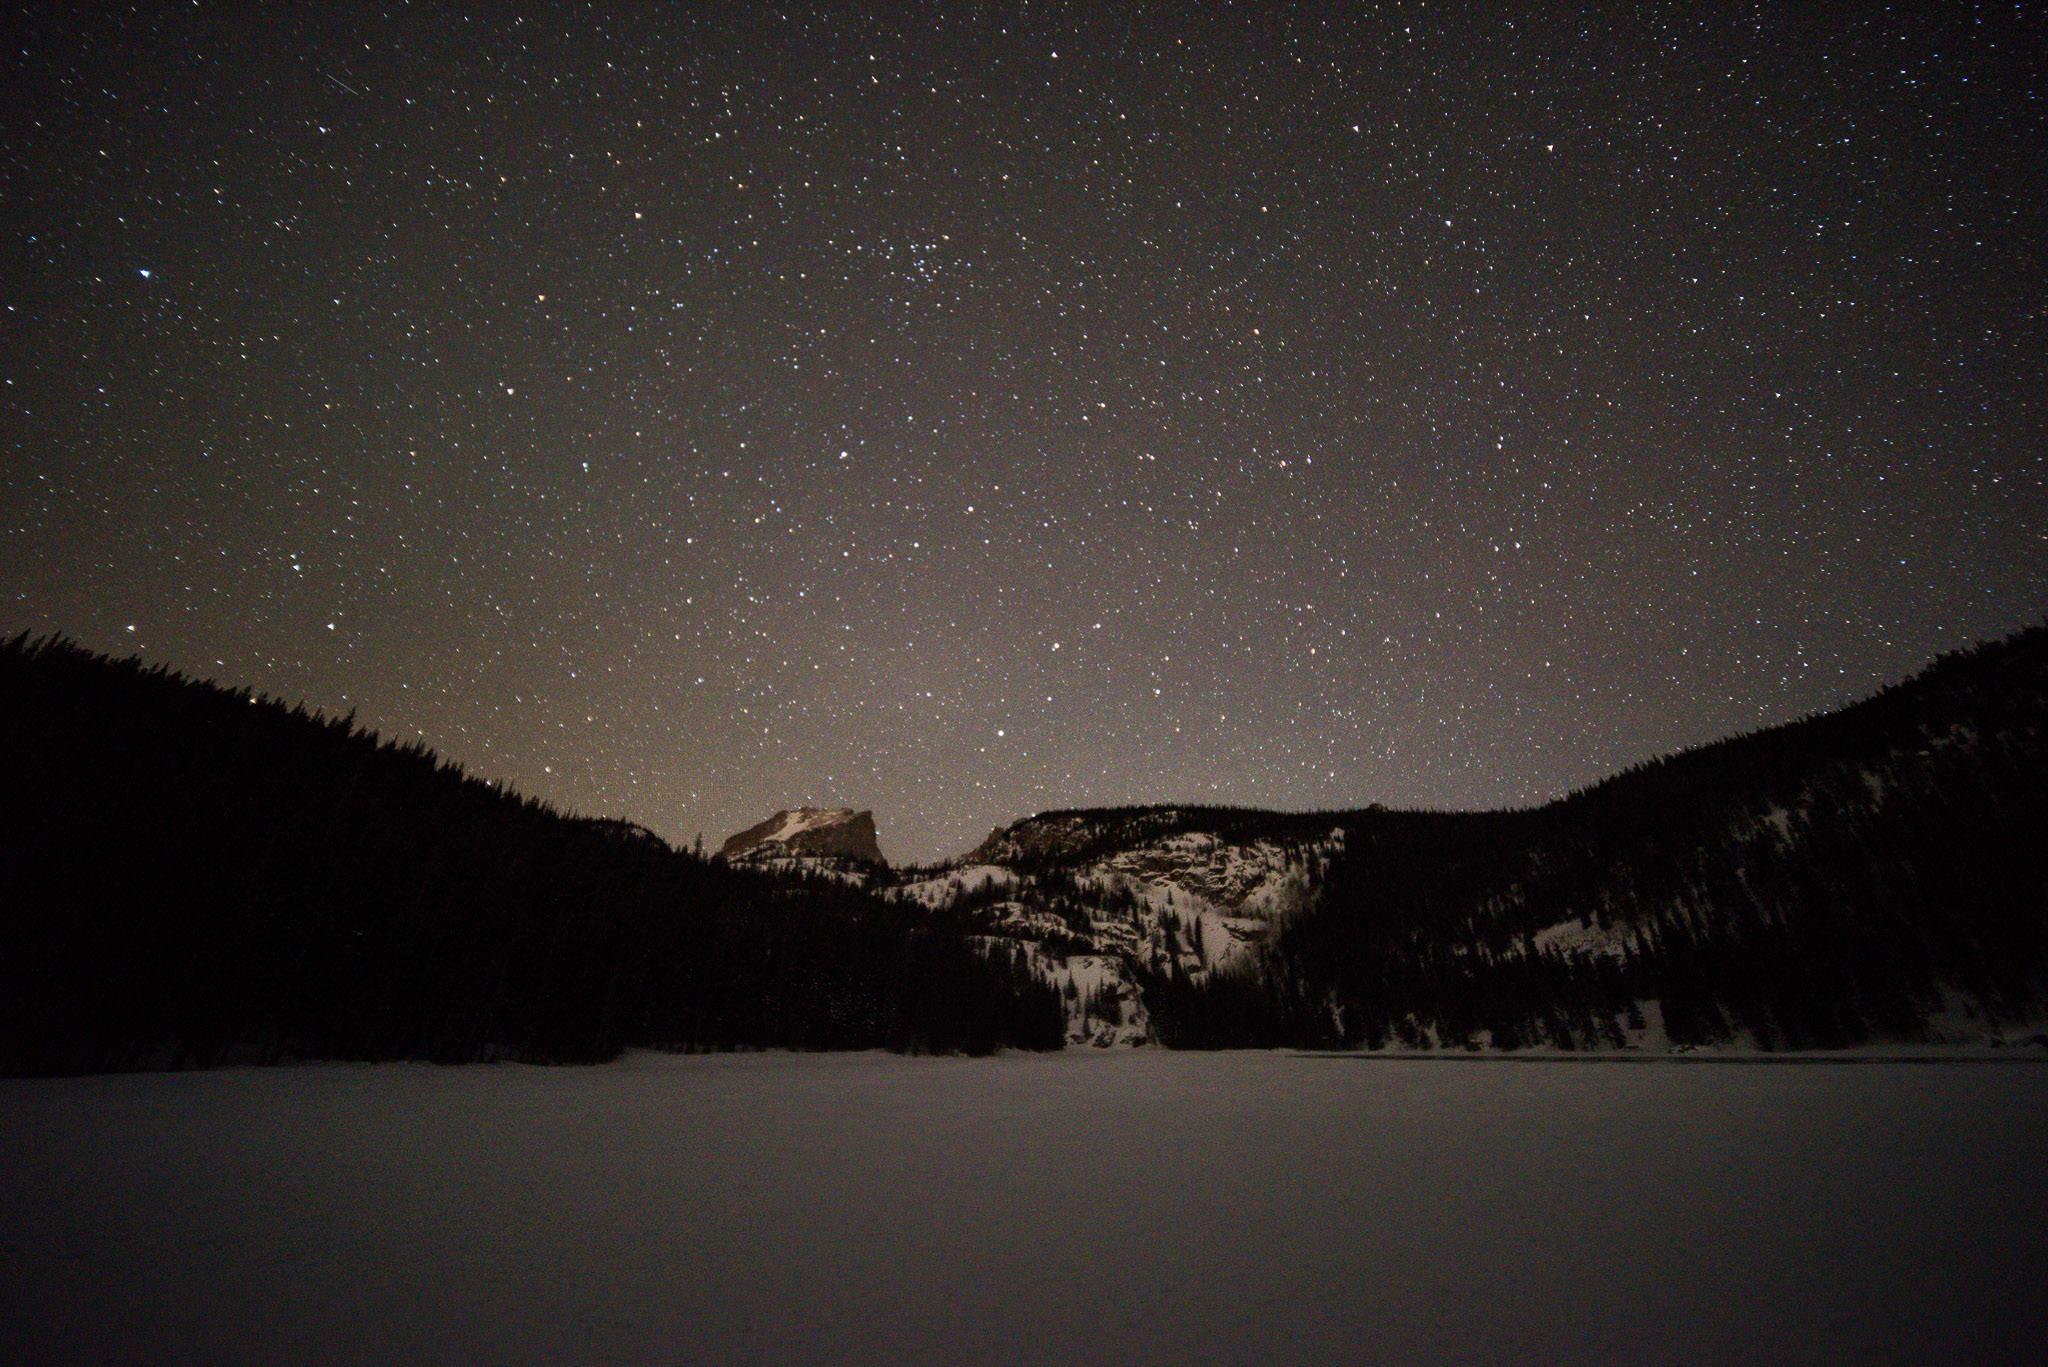
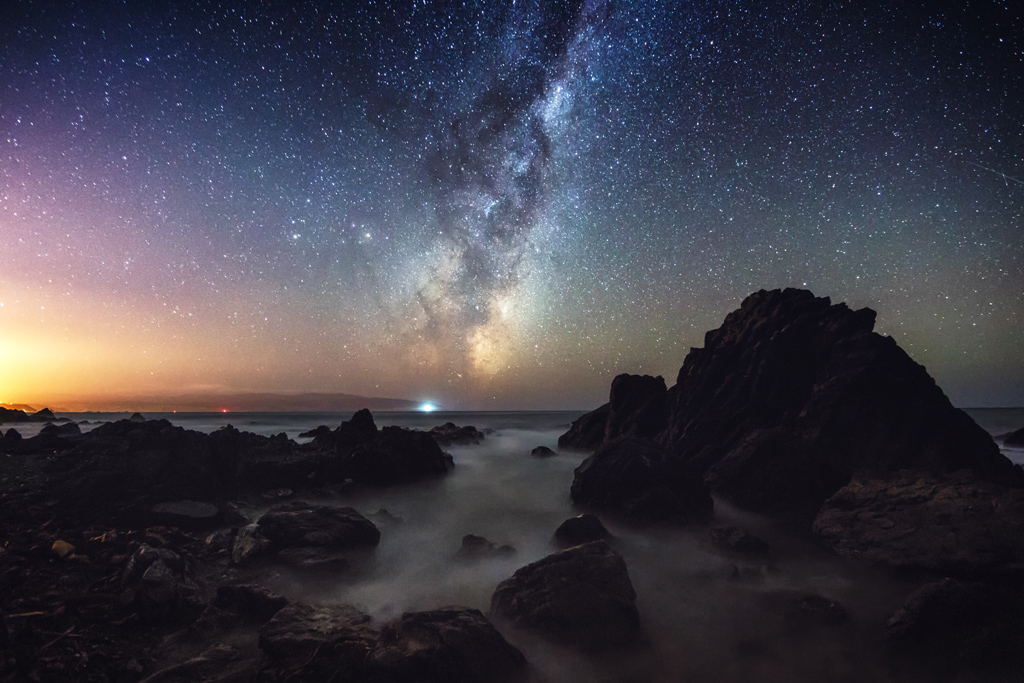
Wide-angle astrophotography is a type of astrophotography that uses a wide field of view. In this regard, it would require wide or super-wide lenses to execute. These photographs would include night landscapes with the Milky Way in the background and make for incredibly arresting images.
Another great subject is this area of astrophotography is capturing star trails. As this branch of astrophotography is the least technical and most accessible, it is quite easy for novices to get into.
TIME-LAPSE ASTROPHOTOGRAPHY
Time-lapse astrophotography is an extension of the wide-angle astrophotography that requires you to take many exposure shots over a certain period. Then, you combine these images to create one seamless video, which makes for an excellent technique to capture star trail images.
SOLAR SYSTEM

Astrophotography of the solar system includes everything that can be found within our solar system such as the moon and the planets that circle the sun. While using a telescope is recommended, you can also use a multitude of telephoto lenses as an alternative and still get stunning results.
QUICK STARTING TIPS FOR NOVICE ASTROPHOTOGRAPHERS
Once you have purchased a camera and all the other necessary equipment, you are now all set for your first astrophotography session. Before you start shooting at the night sky, however, it is recommended that you choose an ideal spot for astrophotography. Ideally, this should be a place with minimal to no light pollution at all, such as campgrounds and rural areas. In any case, here are some of the tips to ensure that your first trip will be a success:
1.) Practice and experiment

The great thing about modern cameras is that they require no film, which means you can take as many snaps as possible. So, once you have settled on your chosen spot, start snapping away, and feel free to experiment. Keep in mind that committing errors is part of the learning process, so do not pressure yourself to get it perfect on your first attempt.
2.) Set your camera to manual focus

When it comes to astrophotography, you would want to focus on “infinity,” considering that the things you are capturing are quite far. However, to have a feel of how the process works, try it during the daytime, so that you will have better leverage on your camera settings at night.
To practice, set your lens to infinity and then try shooting something locating extremely far away, such as a distant tree or mountain and see how it comes out.
3.) Experiment with white balance

Before you shoot anything at night, be sure to adjust the white balance as this will change the color of the sky in your photo. Typically, the camera’s setting will automatically balance it out by default. Still, the resulting image is not as stunning as it would have been when manually done.
Alternatively, you can try using a “sunny day” or “daylight” white balance setting, or you might want to set a customized white balance according to your preferences manually. Practice some shots before you head into the field.
4.) Shoot in RAW file format
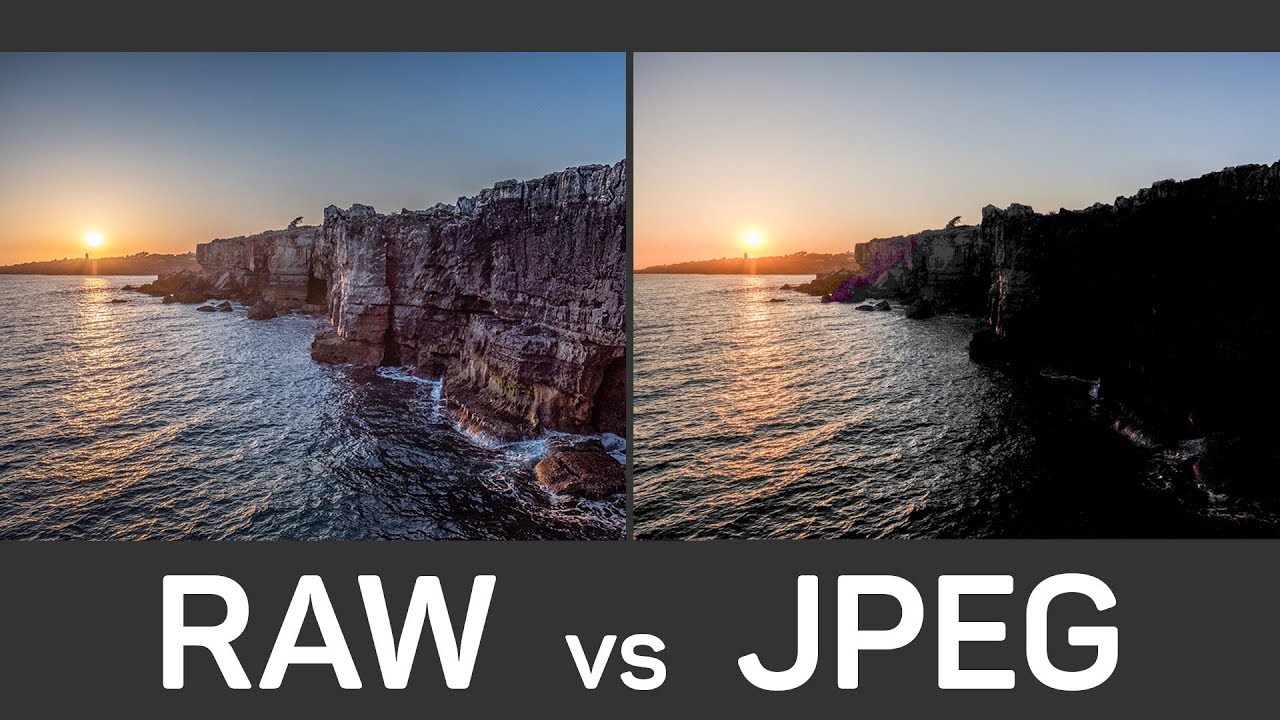
Never shoot your photos in JPEG format. RAW files might take up more storage space. Still, they make it easier for you to edit in Photoshop or other software you might choose as they contain so much more information.


Photos by Bryan Mistola
Now that you have an idea of what astrophotography is as well as a few tips to get you started, you might want to take inspiration from other astrophotographers for your initial try. Apart from learning from their techniques, you can also determine which camera they used as well as the exposure length to ISO or any other special methods. These will be helpful in your endeavor and will make you so much more interested in the activity. So, if you have decided to take an interest in astrophotography, be prepared to be blown away and see the universe from an entirely different perspective.

If you are interested in taking up astrophotography (or wish to refine your craft, Astro Pinas will be having an astrophotography course this January 25-26 at WK Forest Reserve & Campgrounds (Sta. Ines, Tanay) For more info, pleae visit this link: https://www.facebook.com/events/1409843312498942/
For your camping needs and essentials, shop at Philippine Camping Gears Online Shop.
